Crochet Bobble Cushion Cover Pattern (Free)
Learn the bobble stitch with this free crochet cushion cover pattern. A cozy, textured pillow with an easy envelope back – written clearly for beginners.
Published September 3, 2026 · by Amanda
- Skill level
- Intermediate
- Yarn weight
- Worsted (4)
- Hook size
- 5 mm (H-8)
- Time
- 8 hours
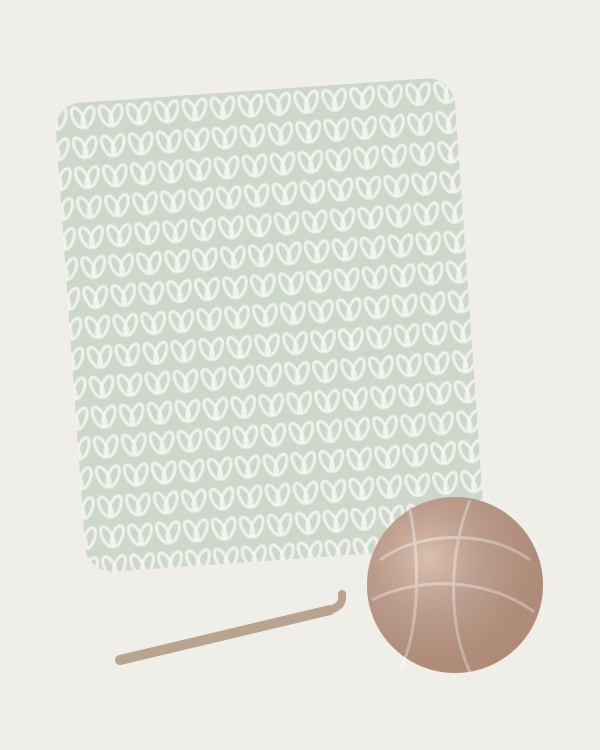
This crochet bobble cushion cover pattern adds soft, touchable texture to any sofa or bed. Rows of little bobbles sit on a plain single crochet background, and an envelope back with buttons makes it easy to remove for washing.
It's the perfect project to learn the bobble stitch – once you've made a few, you'll want to add them to everything!
Why You'll Love This Bobble Cushion
- Learn a new stitch in a simple, repeating pattern.
- Removable cover with an easy button back.
- Straight rectangles only – no tricky shaping.
- Calm, modern look that suits any room.
Crochet Abbreviations (US Terms)
- ch – chain
- sc – single crochet
- bob – bobble stitch (see below)
- RS / WS – right side / wrong side of your work.
How to Make a Bobble Stitch
- Yarn over, insert your hook into the stitch, yarn over and pull up a loop.
- Yarn over and pull through 2 loops (you have 2 loops on your hook).
- Repeat steps 1–2 four more times in the same stitch (you have 6 loops on your hook).
- Yarn over and pull through all 6 loops.
The bobble puffs out toward the back of your work – that's why we make bobbles on wrong-side rows, so they pop out on the front of the cushion.
Size and Gauge
- Finished size: 37 × 37 cm – slightly smaller than the insert for a plump, full look.
- Gauge: 16 sc and 18 rows = 10 cm.
Step 1: Crochet the Front Panel
Ch 60.
Row 1 (RS): Sc in the 2nd ch from the hook and in each ch across. Turn. (59 sc)
Rows 2–3: Ch 1, sc in each stitch across. Turn.
Row 4 (WS – bobble row): Ch 1, sc in the first 3 stitches, bob in the next stitch, sc in the next 3 stitches. Repeat from * across. Turn. (14 bobbles)
Rows 5–7: Ch 1, sc in each stitch across. Turn.
Row 8 (WS): Repeat Row 4.
Keep repeating Rows 5–8 until the panel measures 37 cm, ending with 3 plain rows. Fasten off.
Step 2: Crochet the Two Back Panels
Button panel: Ch 60 and work sc rows (59 sc) until the piece measures 22 cm. Fasten off.
Buttonhole panel: Work the same way until it measures 20 cm. On the next row, make the buttonholes: ch 1, sc 13, (ch 2, skip 2, sc 14) twice, ch 2, skip 2, sc 12. On the next row, work 2 sc into each ch-2 space. Work 2 more rows of sc. Fasten off.
Step 3: Put It All Together
- Lay the front panel right side down.
- Place the button panel on top, lined up with the bottom edge.
- Place the buttonhole panel on top, lined up with the top edge. The two back panels overlap in the middle.
- Join yarn at a corner and sc through all layers all the way around, with 3 sc in each corner.
- Turn right side out, sew on the buttons to match the holes, and insert your cushion.
Beginner Tips
- Push each bobble to the front with your finger as you go.
- Count 14 bobbles on every bobble row.
- Keep the first and last stitches plain – it makes seaming much easier.
Common Mistakes (and How to Fix Them)
- My bobbles are on the wrong side. Bobbles must be made on WS rows. Check that Row 1 is your right side.
- My bobbles look flat. Pull each loop up to the same height before finishing the bobble.
- The panels are different sizes. Measure each panel against the front before joining.
FAQ
Is the bobble stitch hard to learn?
Not at all. It's five unfinished double crochets in the same stitch, closed together. Most beginners get the hang of it after 3 or 4 bobbles.
Why does my bobble stitch use so much yarn?
Each bobble is made of five stitches, so bobble projects use more yarn than plain ones. That's why we space them out.
Can I wash a crochet cushion cover?
Yes. Remove the insert, wash the cover on a gentle cycle and dry it flat.
Find more cozy pieces in our free crochet home decor patterns, or wrap up with the Easy Granny Square Blanket.